01
Panel blocking
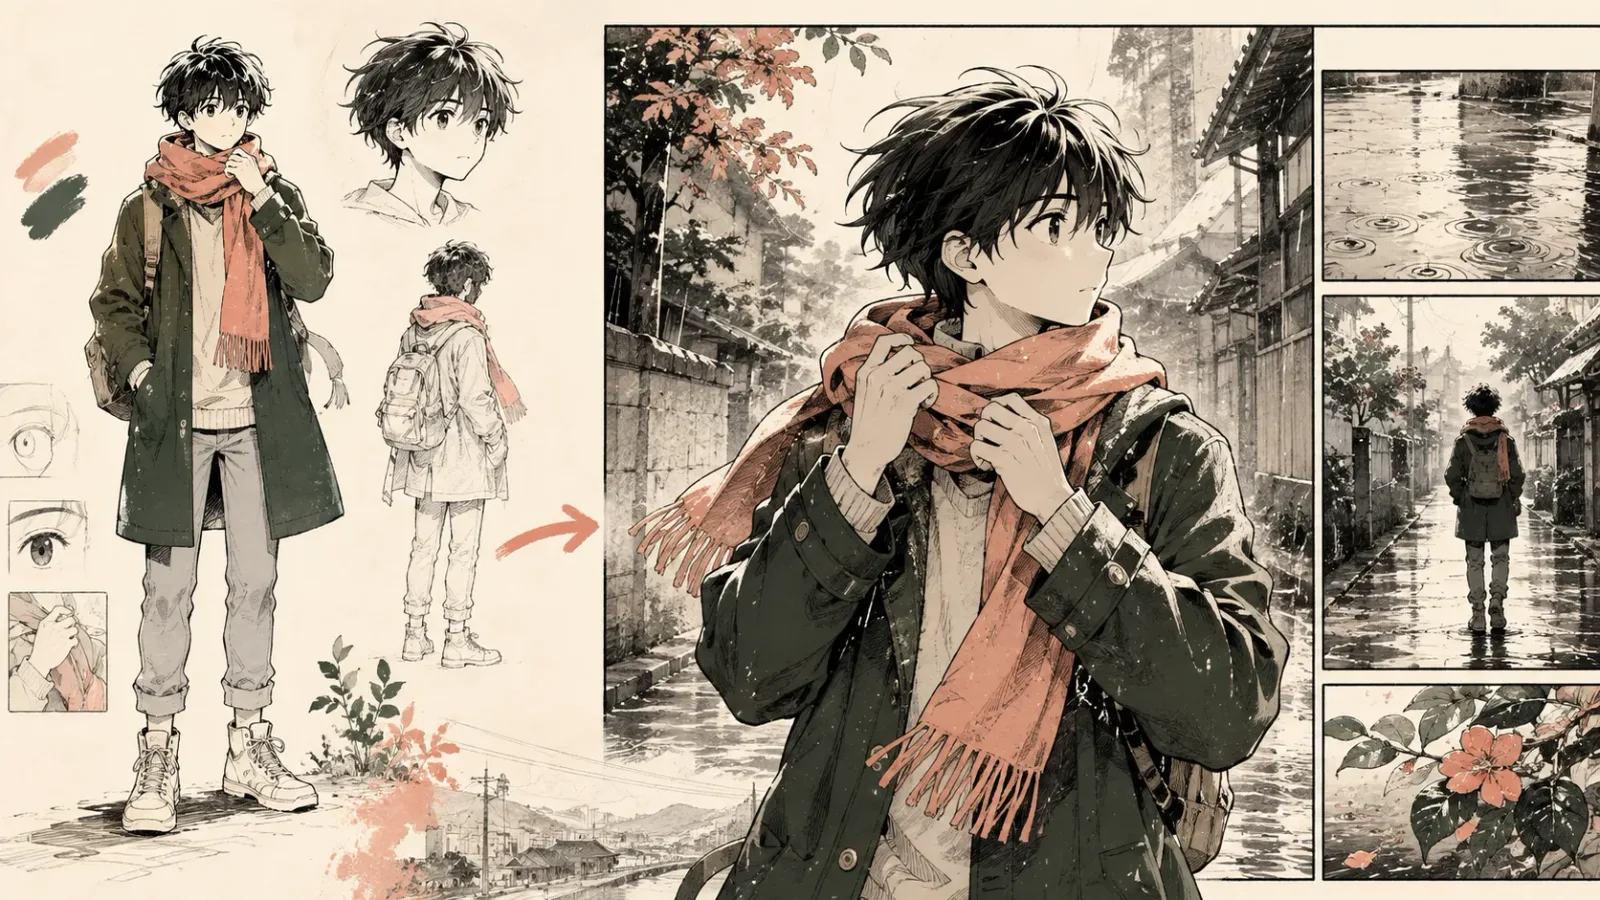
Test a camera angle, gesture, and prop arrangement before you spend time drawing the panel in detail.
Create one manga image from a text prompt, a reference image, or both. Define the character or scene first, then control composition, line treatment, lighting, and aspect ratio before reviewing the result at full size.

Workflow / Ready
Name the subject, action, viewpoint, and the detail that carries the scene.
Add a reference image only when it controls a face, costume, setting, or visual treatment.
Check the pose, composition, hands, props, and text areas before changing the whole prompt.
USE THE IMAGE GENERATOR FOR
Use the AI Manga Generator for single-image manga tasks such as character art, panel concepts, scene illustrations, and cover drafts. Add a reference only when identity, costume, or setting needs a visual anchor.
Test a camera angle, gesture, and prop arrangement before you spend time drawing the panel in detail.
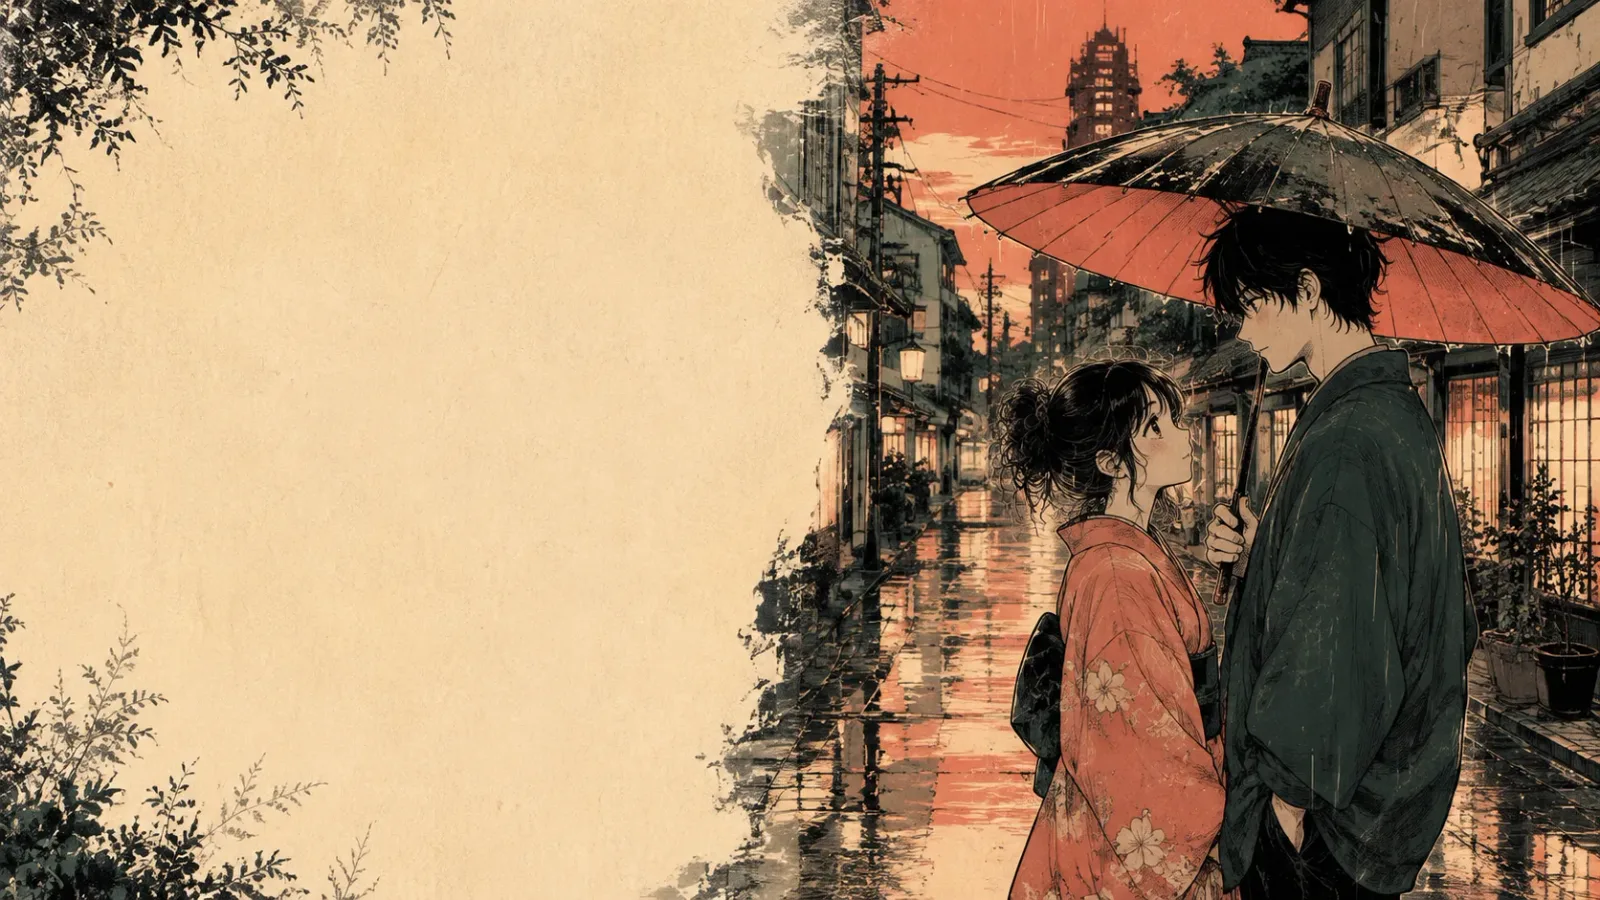
Explore a pose, expression, or costume direction from a short brief and one useful reference.
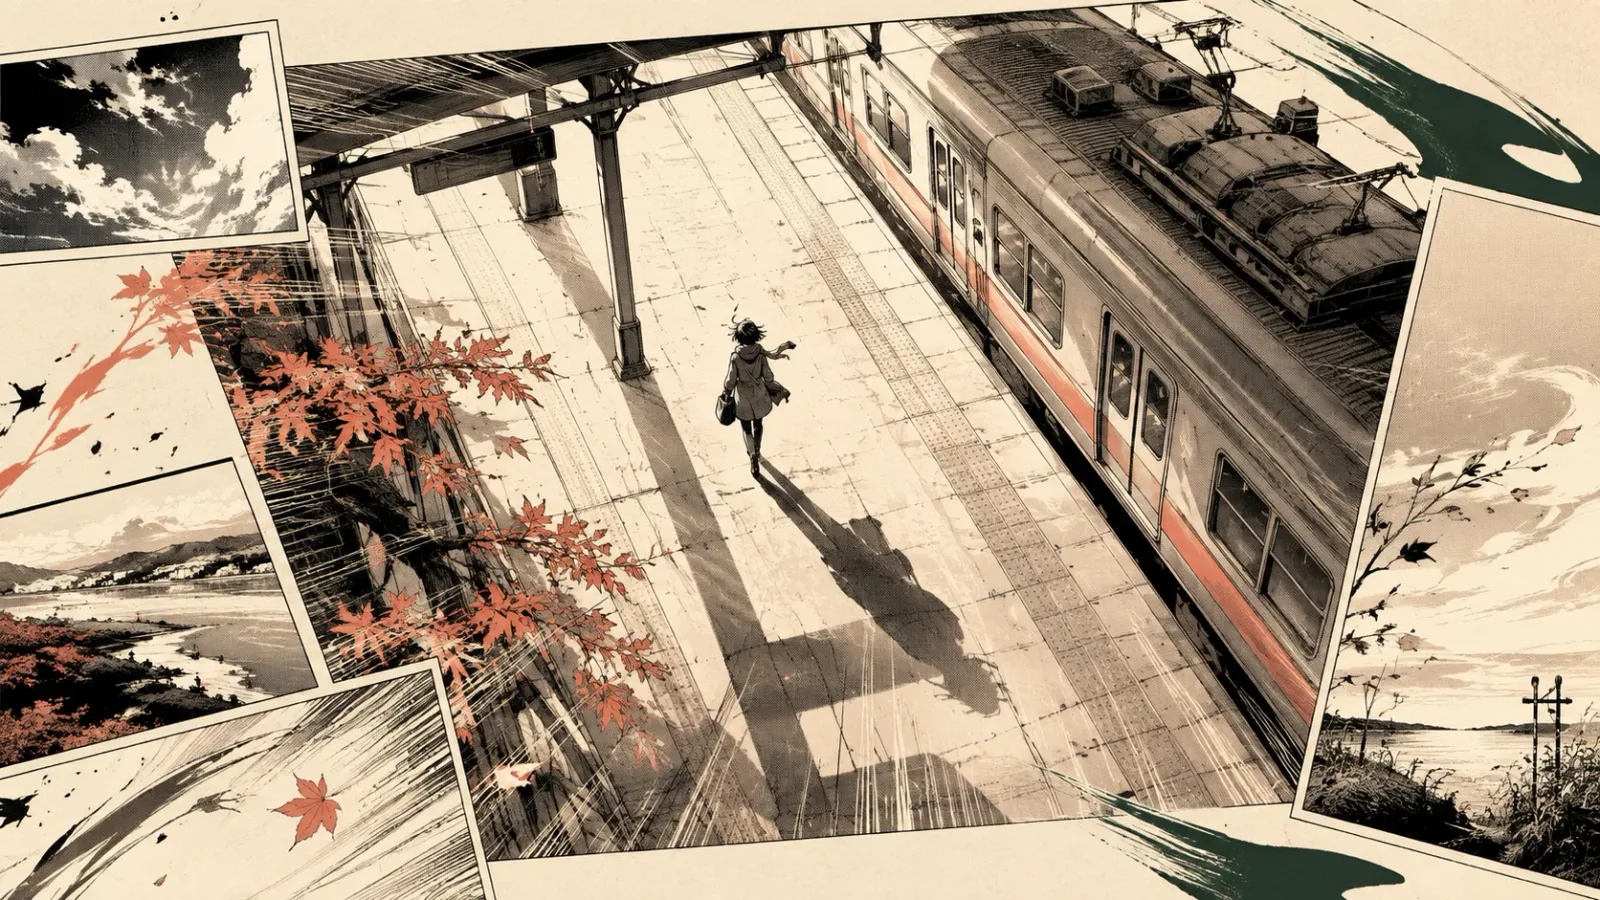
Compare a few visual directions for a cover or key image while keeping the decision focused on one scene.
WHAT YOU CAN DIRECT
Build the frame in layers. These four decisions give the AI manga generator clearer priorities and give you a practical checklist for reviewing the result.
Define the character, pose, gaze, emotion, clothing, and the one identity detail that should not drift.
Choose close-up, medium shot, or wide panel; then place the subject, focal point, and usable space for lettering.
Specify clean ink, screentone, limited color, shōjo softness, seinen contrast, or another coherent visual treatment.
Name the time, weather, light direction, setting, and only the background details needed to support the moment.
PROMPT GUIDE
Describe the scene in a clear order: subject and action first, then framing, and finally the manga treatment. Use a reference image only when it helps preserve a specific visual decision.
State who or what is in the frame, what they are doing, and which detail must remain recognizable.
Add shot size, viewpoint, placement, negative space, or a panel-shaped composition when those choices matter.
Choose ink, screentone, color mood, light, and background detail after the scene itself is clear.
IMAGE GENERATOR FAQ
These answers cover the available starting inputs, the expected single-image output, and the details that still need human review.
Start with a text description of one scene. You can add reference images when a character, costume, location, or visual direction needs to stay in view.
Describe one moment clearly, name the viewpoint, and identify the detail that matters most. If the look still drifts, add one relevant reference instead of adding unrelated adjectives.
It is best suited to scene exploration, panel direction, character moments, and cover drafts. Lettering, multi-page continuity, and publication preparation still need a separate review.
Check the expression, hands, important props, perspective, and empty areas for lettering. Change one decision at a time so you know which prompt adjustment helped.
Yes. Add a relevant reference when a face, costume, setting, or visual treatment needs a clear anchor. Keep the prompt focused on the scene you want to create.
Include the subject, action, viewpoint, and the visual treatment that matters. A short, ordered description is easier to review than a long list of unrelated adjectives.
Compare the face, costume, setting, and line treatment with the detail you intended to keep. Add one useful reference or change one prompt decision before trying another pass.
Treat the image as a visual draft. Check any lettering, panel layout, names, and small text manually before using it in a finished manga page.
CREATOR FEEDBACK
These eight notes turn common review moments into a practical checklist. They are workflow guidance, not star ratings or claims about verified users.
A scene brief is easier to judge when the subject, action, and viewpoint appear before the style details.
A single pose or expression gives the first pass a clear decision and leaves room for a focused revision.
Shot size, camera height, and negative space help the result read like a panel instead of an unplanned portrait.
One relevant reference can protect a face, costume, or setting without turning the prompt into a collection of competing instructions.
Line weight, screentone, and color mood work best after the scene itself is already understandable.
Name the prop that carries the moment, then check whether it remains readable instead of adding every background object.
Leave a deliberate empty area for dialogue and review small text separately before treating the image as a page draft.
Change one decision at a time so the next generation teaches you which part of the prompt improved the scene.